Tips and Tricks in hanging wallpaper
One of the reasons why wallpapers are preferred over traditional methods of painting to finish a wall is because they require a lot less effort to protect the surrounding space before the project, and there is less mess to clean up after. There are no wet paints to dry so the space can be ready to use a lot quicker.
Hanging wallpaper without hiring a professional wallpaper installer may seem like a daunting job, especially when they come in rolls and we are trying to make the edge and patterns match. If you are the type of homeowners who like to do things yourself, here is an article where we share some of the trade secrets from a seasoned wallpaper installer with you
Surface of your wall
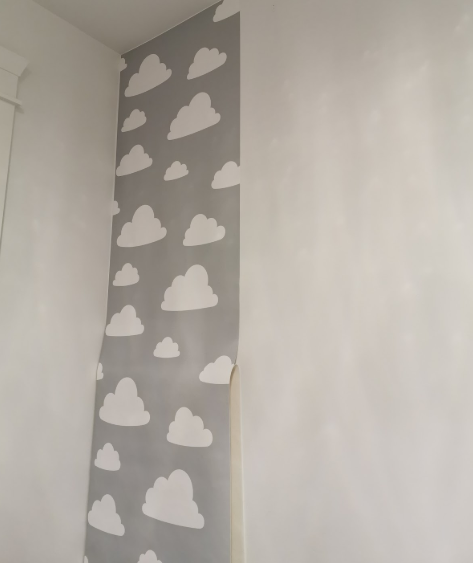
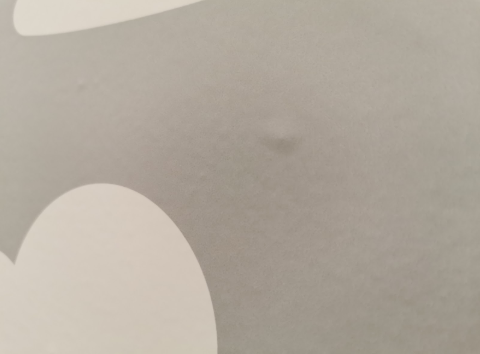
The wall is the most important part of installing your wallpaper. The quality of the walls needs to be carefully examined even before you decide to go for wallpaper or painting. We look for the wall’s straightness to determine if the wall is suitable for wallpaper. When you have seen enough buildings, you would agree with me when I say that no walls are perfectly straight. These imperfections are magnified when you apply wallpapers. It’s also possible that a slight bulge on the wall at the early stage of your wallpaper hanging job completely destroys the look of the wall. So double check on the wall’s straightness before you decide to use wallpaper.
During this process, we also check for the smoothness and cleanliness of the wall. Like we have already mentioned, wallpaper magnifies imperfections. A bump less than 1mm in size can create an air pocket that not only look bad, but also hinders the ability for wallpapers to stick to the wall. This is why we check for cleanliness of the wall, and always give the wall a dry wipe to get rid of light debris.
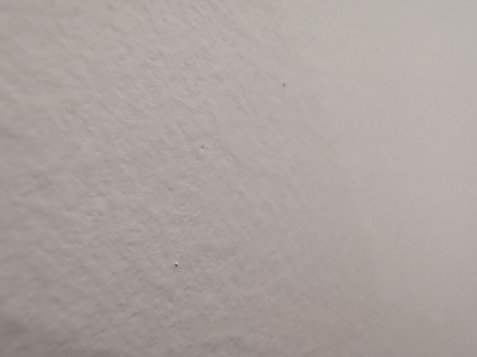
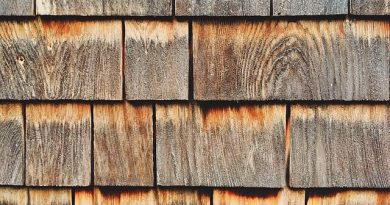
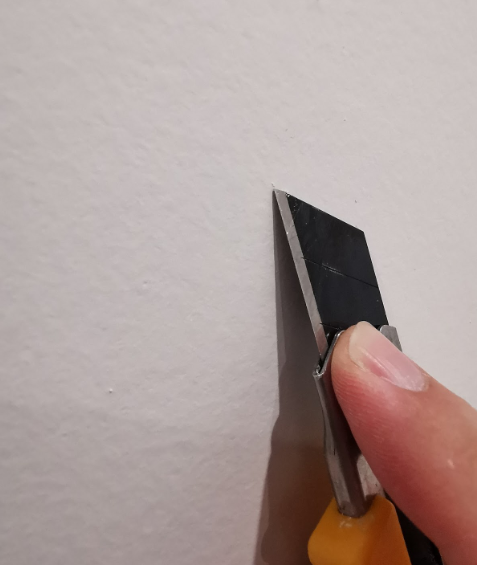
There may be impurities wrapped in paints when the paints are applied to the walls. These impurities cannot be removed by wiping the wall. These small bumps can be simply scraped off with a sharp straight edge. However, if the wall has a coarse finish like popcorn or eggshell finish, then the wall is not suitable to apply wallpaper on.
Quality of wallpaper
There are two types of wallpapers, self adhesive, and ones that require additional wallpaper paste. We are going to focus on the self adhesive ones because the application of wallpaper paste can change the way we hang wallpapers drastically so it’s a whole other topic on its own.
When choosing your wallpapers, look beyond the graphics. What matters even more, is the materials and properties of the wallpaper. Traditionally, thinner wallpaper are easier to work with because they have more give, therefore easier to correct any mistakes. On the contrary, modern day wallpapers use synthetic vinyl-like materials that are thicker with a premium feel to the touch. You might also be surprised to see that they are also very forgiving. Many wallpapers on the market are breathable to allow air pockets escape (without being pushed to the edge), they also expand and contract to conform to non-linear walls so it’s less likely for crease to appear..
With all these new technology implemented, it’s almost impossible to screw up. Of course, not all wallpapers are made the same. Online reviews is a good place to start if you have not dealt with a specific manufacturer, but we suggest buying one roll to test at home before committing. We know this is an additional layer to your project, but the reviews are not going to tell you how the products react to your specific situations.
Helpful Tools
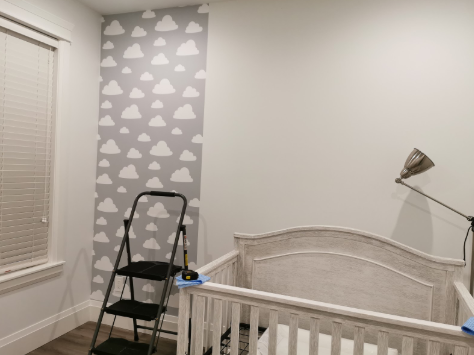
Peel and stick wallpaper has eliminated a lot of tools and mess for wallpaper projects. If you want to go for the bare minimum, all you need to complete the project is the wallpaper, a free-standing ladder, and a utility knife.
Free-Standing Ladder: We usually hang wallpaper from top to bottom of the wall. A free standing ladder allows the excess wallpaper to be hanging relatively close to the wall so they don’t get in our way. Dining chairs may work for rooms with low ceiling, but we do not recommend standing on chairs that are taller than two feet.
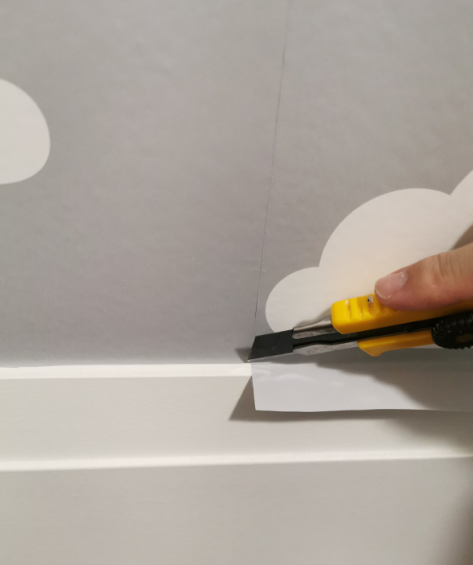
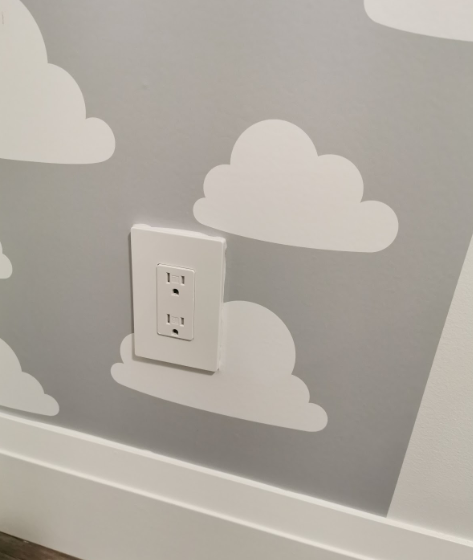
Utility knife is an all around trimming tool. It excels in helping us with edge treatments around wall corners, ceilings, and baseboards. If you are skilled enough with a utility knife, you can even skip the steps of removing wall outlet plates by simply cut around them.
A screwdriver is required to remove outlet boxes or any hardware on the wall. You can cut holes on the wallpaper when you apply the wallpaper, but it has a higher chance for accidents, so it is better to prepare wall surface properly with a screwdriver.
Scissors are not required, but nice tool to have. The main purpose of having a pair of scissors is to cut the wallpaper to the correct length. Utility knife is very accurate in trimming wallpaper, but it will always damage the backing. You can use a cutting board and a straightedge to replace a pair of scissors.
Wipes or cloth can be used to prepare wall surface for wallpaper. We have mentioned earlier that dusts reduce wallpaper adhesion to the walls. A damp cloth works very well in picking up dust. Give the entire wall a quick wipe while inspecting the wall for any localized bumps to see if any treatments can be done.
A level can be useful if you are dealing with a room where the ceilings are not perfectly straight. Using a level for wallpaper hanging may seem like overkill but the purpose is to avoid early mistakes for your project. A level can help us set the horizontal line, and gravity can take care of the vertical aspect. Always start applying the first strip of wallpaper from the middle of the wall to avoid early mistakes being blown out of proportion.
Straight edge or a small steel ruler can help us with excess wallpaper trimming. It’s impossible to cut the wallpaper to the exact size before sticking them onto the wall. We would always apply a larger piece of wallpaper to cover the areas we want, and trim the parts overflowing to the corner or baseboard. If you don’t have confidence in cutting free-hand straight lines at the edge, it is better to cut along a straight edge to keep your cut clean.
Wallpaper smoothing tools can either be a piece of durable soft plastic with round edged, or a large hard bristle brush with soft tip. These tools are used to remove bubbles behind wallpaper. You can try to do with with your hands, but please make sure your hands are clean, and your wallpapers are not too delicate.
A flashlight or your cellphone’s flashlight function may prove useful in finding imperfections on the finished wallpaper surface. When we are working on the wall, it is very often that our body is placed between the room’s light source and the wall. Shining a light from different angles may reveal imperfections that we can tend to before finishing the job.
Using a blow dryer on wallpaper is an advanced trick that we do not recommend inexperienced homeowner to try because it is possible to ruin the wallpaper beyond repair. A blow dryer is used in wallpaper projects to fix some of the bigger accidents on the wallpaper that cannot be restored otherwise. They range from either noticeable hard crease on the wallpaper, over stretched wallpaper in attempts to match patterns, or the backside of two pieces of wallpaper stuck together. If you do decide to use a blow dryer, please test your wallpaper against the heat from your blow dryer first.
If you do need to use a blow dryer, might as well grab an extension cord because the cord attached to the blow dryer is usually not long enough to reach the ceiling.
Wallpaper hanging tips
New technology and wallpaper materials make hanging wallpapers a breeze compared to the traditional method. However, there are things you should know that can save you a lot of headache. We are going to list them in point form below:
- Use even pressure when separating wallpaper backing as uneven force can create crease.
- Only remove enough backing to work on a small portion of wall at a time. Your biggest enemy in hanging wallpaper is removing too much backing resulting two glue sides of a wallpaper stuck together.
- Start from the middle of the wall (horizontally) so any early mistakes can be averaged out.
- Do not stretch your wallpaper to match the pattern with the previous strip. You don’t want to magnify the problem for your next strip. Consider using the middle of the wall (vertically) as starting point for this strip.
- When working on the wallpaper high up on the ladder by yourself, you can tape a few coin sized areas loosely as anchor points so you can work on matching the pattern in the important area. Remember to tape these anchor points firm enough. Do not yank on these anchor points, and re-adjust their position as needed so they don’t fall onto your face. Modern day wallpapers usually made to allow removing and re-taping.
- Avoid curves or bends that are two directional. When working close to the edge such as ceilings, wall corners, or baseboards, try to cut the wallpaper to size. It is easy to deal with 1-dimensional bend, but 2-dimensional bend on wallpaper can create a lot of unforeseeable wallpaper crumbles.
We hope these wallpaper hanging tips help you with your project. Please do understand that not all walls are created straight, and it is always advisable to hire a professional if your walls are really out of line. If you run into any problems, please feel free to leave a message to us and we will do what we can to help.